

There are many different love languages, but for many people, including myself, bread is one that shouts above the rest. A good bread can fill the soul with warmth and comfort, something that seems to be needed now more than ever. In this trying time, I have taken it upon myself to fight the good fight for all bread lovers out there and present you with a solid bread recipe that can be easily recreated at home. All it takes is time, patience, and a lot of love.
Two weeks ago, I arrived home to the United States from Oxford, into the midst of panic and hysteria about the pandemic we have all come to know and definitely not love. One of the first necessities to fly off of grocery shelves was, of course, bread. Luckily enough for me, I happened to have some yeast and flour at home, and so my path to bread making was born. I am an avid baker, and have been extremely sad while at Oxford with no access to an oven. I have never baked bread before, and it has always been explained to me as a hard process to do. That week, I made a simple white sandwich bread loaf that turned out delicious and tasty, but I hungered for something more challenging, and for more bread.
Enter in the no-knead Dutch oven loaf. I have seen this type of bread making method, putting slowly risen dough into a Dutch oven and baking it, numerous times on various cooking shows. I was intrigued by the no-kneading aspect, as I hate the messy process of flour-covered counters and sticky dough hands. This particular recipe jumped out to me in a New York Times article as it was their most requested recipe, and so I decided to try it out.
I made a couple of tweaks to the recipe based on recommendations by commenters. Firstly, I used active dry yeast instead of instant because that’s what I had on hand. Secondly, I proofed the bread for all rounds in the bowl, up until the moment of baking. This just made it less messy and easier to control. The process of making the bread was extremely easy, and I proofed the dough overnight for the recommended 18 hours. You will want to either set a timer or mark down when you begin proofing your bread, as overproofing can damage your carefully created gluten strands and cause the bread to collapse.
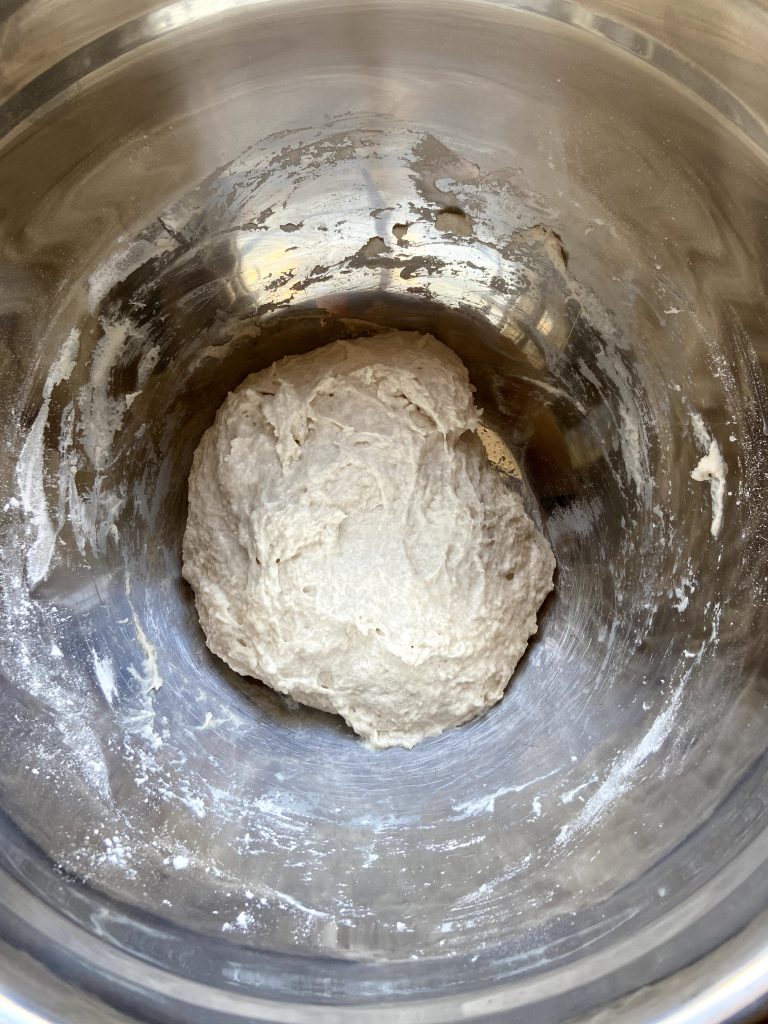
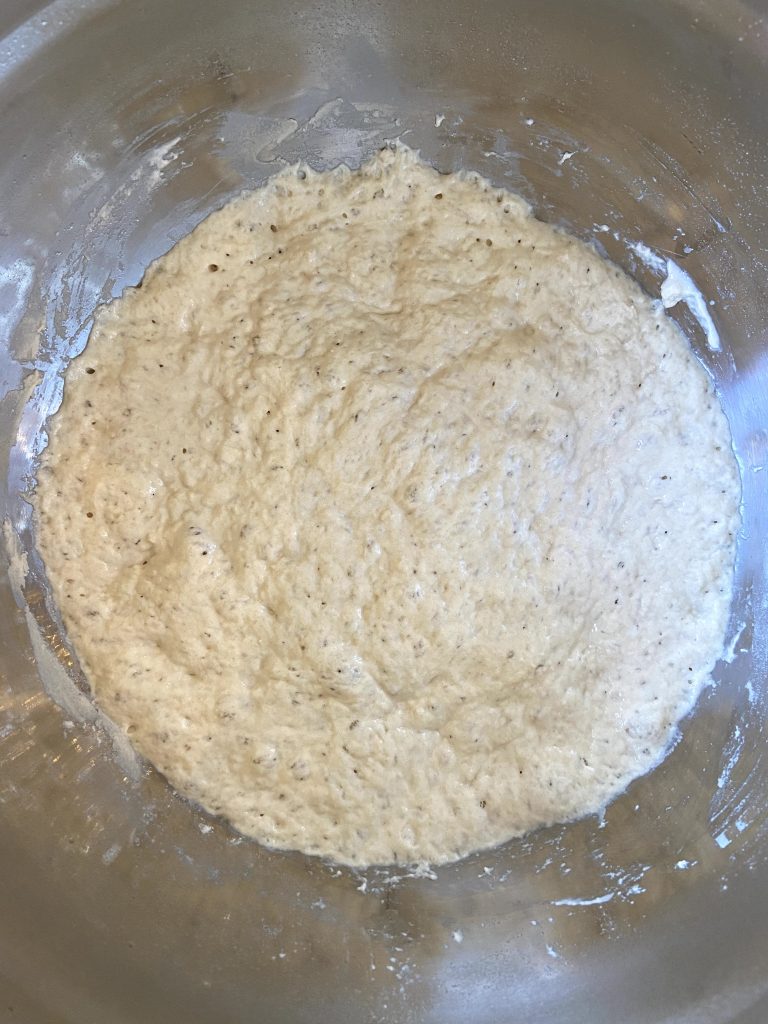
Photo courtesy of Caitlin Overmeyer
When it came to baking time, I plopped my bread into the warm Dutch oven, covered it, and let it do its thing. The final result, after baking it uncovered for another 15 minutes, resulted in a delightfully crunchy exterior. I let the bread cool for about 15 minutes before I cut into it for a taste. The fermentation overnight resulted in a subtle sourdough flavour reminiscent of a French-style baguette, and a chew that had a nice mouthfeel. The crust was perfectly crisp, a nice contrast to the soft interior.
This bread has since served me as a delicious toast with eggs for breakfast, and as the perfect base for an afternoon sandwich. In my opinion, fresh bread should be consumed as quickly as possible so that it retains its crunch on the outside and doesn’t become gummy on the inside. Once you taste this bread, I guarantee that it will not last on your counter for very long.
This recipe is baker friendly for all levels of expertise, and I was shocked by how little I had to do for it to turn out perfectly. I do wish I had gotten a more even shape on the bread, as it didn’t spread on its own whilst baking as the recipe said. The amount of time it takes to create the perfect bread makes you feel as though you’re being productive, something many of us probably need during lockdown.
If you happen to have yeast and flour, try making this bread. It is hearty, warm, and a perfect complement to any meal. It’s also likely to keep you from going insane while you’re at home, and we all know we need a little something to keep ourselves grounded. Add this to your baking wheelhouse, and you’ll surely impress your friends. At least, once this is all over. For now, treat yourself. You deserve it.
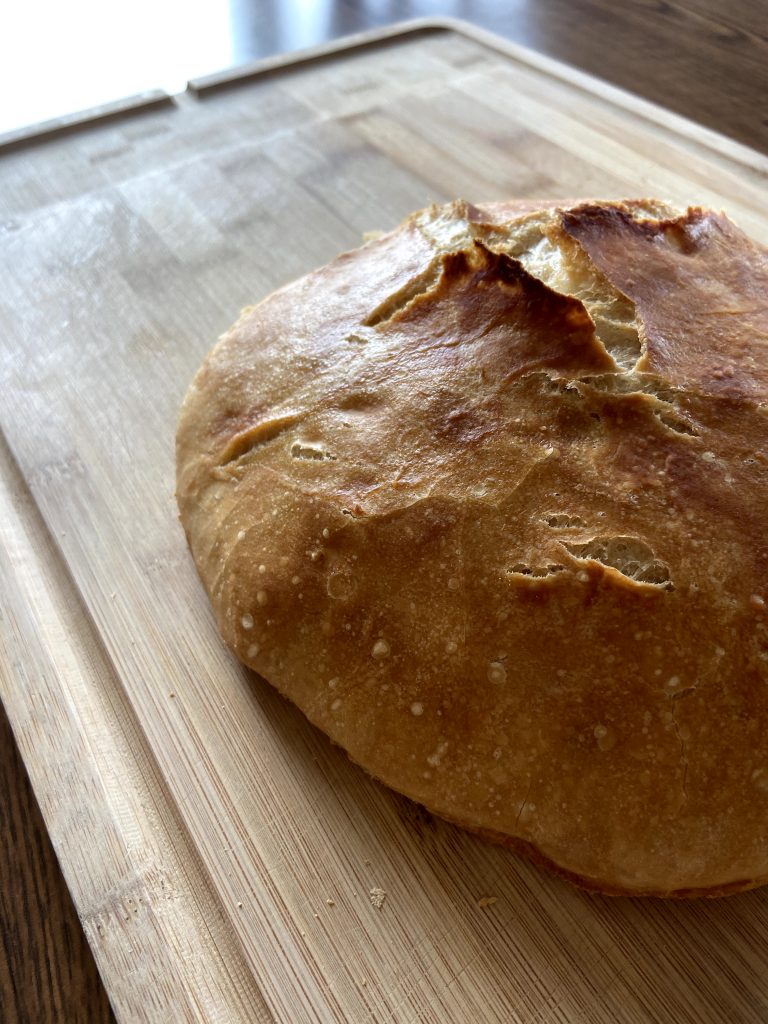
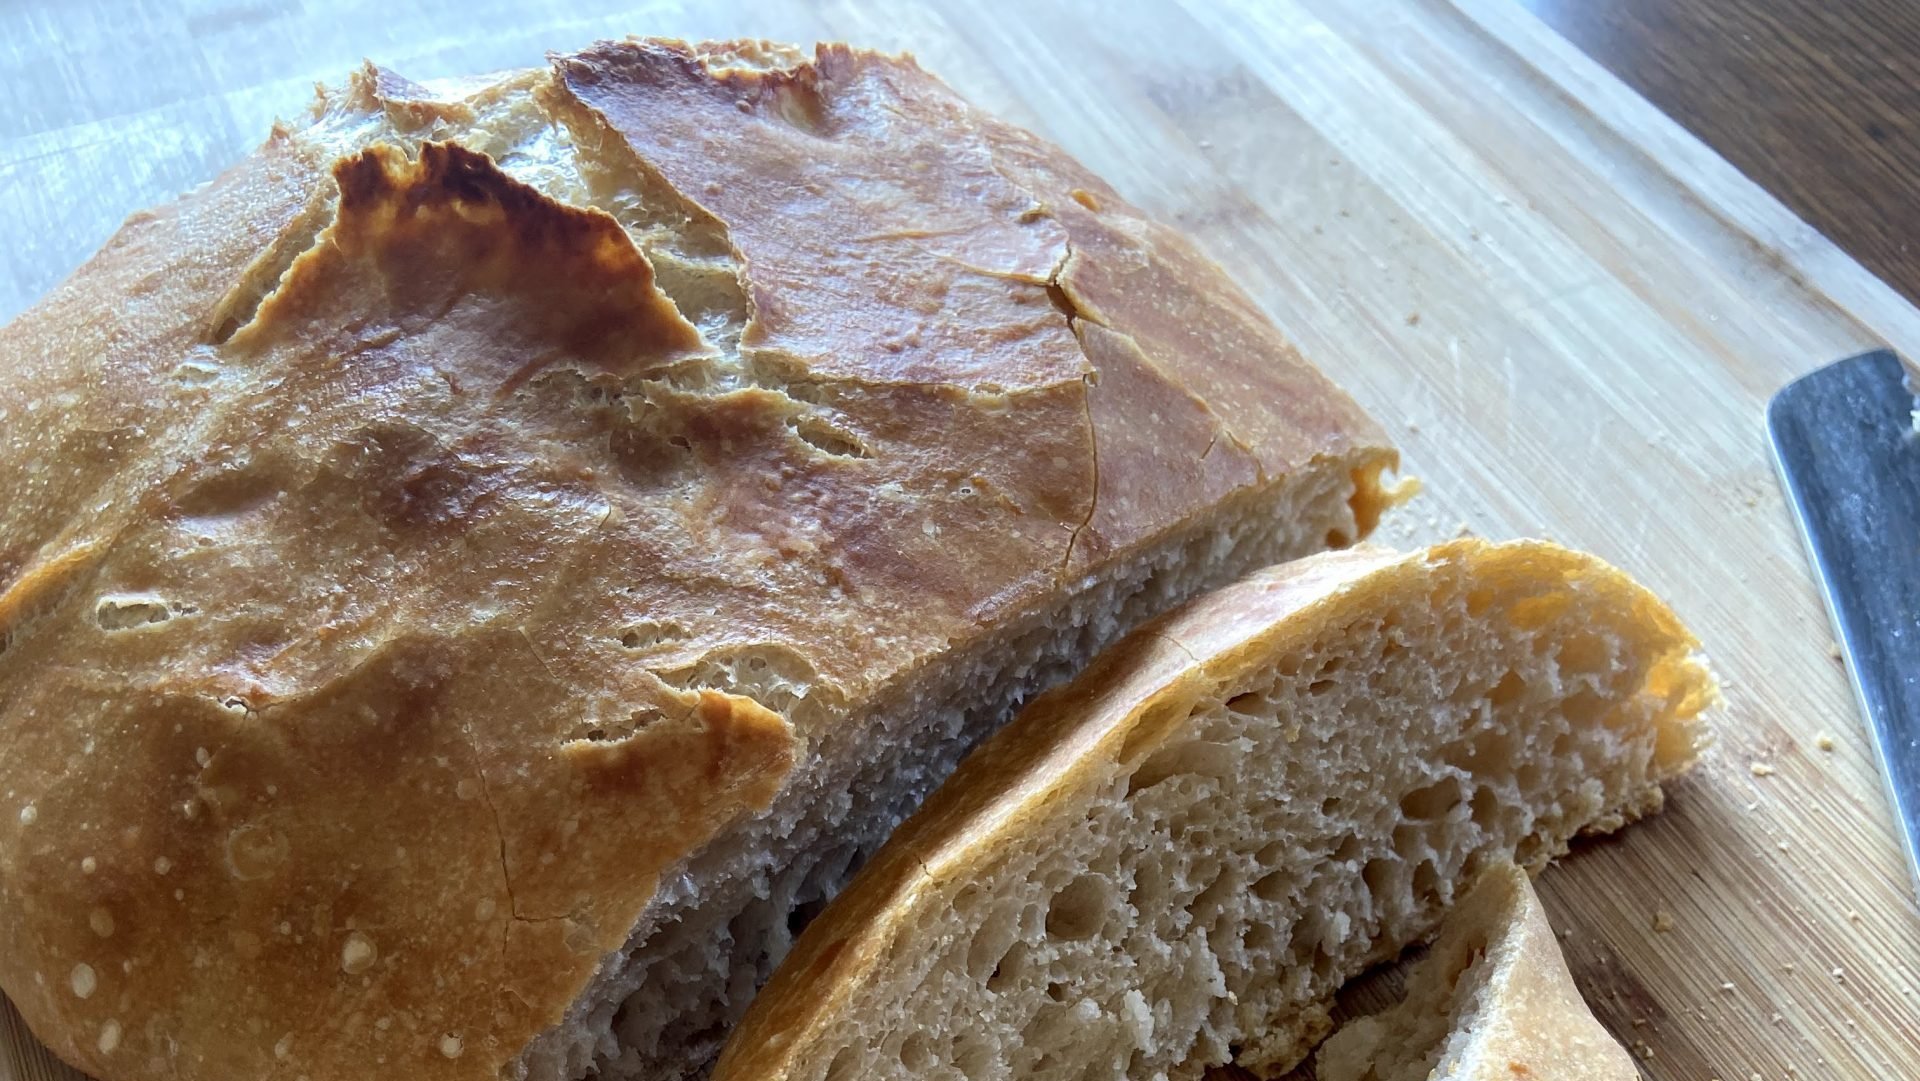
Photo courtesy of Caitlin Overmeyer
No-knead Dutch oven loaf
Ingredients:
3 cups of all purpose or bread flour, and more for dusting
1 packet of active dry yeast or instant yeast (roughly ¼ ounces if measuring by hand)
1 ¼ teaspoons of salt
Method:
- In a large bowl combine flour, yeast and salt. Add 1 5/8 cups of room temperature water, and stir until blended; dough will be shaggy and sticky. Cover bowl with plastic wrap. Let dough rest at least 12 hours, preferably about 18, at warm room temperature at about 70 degrees.
- Dough is ready when its surface is dotted with bubbles. Lightly flour a work surface and place dough on it; sprinkle it with a little more flour and fold it over on itself once or twice. Cover loosely with plastic wrap and let it rest for about 15 minutes.
- Using just enough flour to keep the dough from sticking to the work surface or to your fingers, gently and quickly shape the dough into a ball. Put back into the bowl carefully, seam side down. Cover again and let it rise for about 2 hours. When it is ready, the dough will be more than double in size and will not readily spring back when poked with a finger.
- At least a half-hour before the dough is ready, heat the oven to 450 degrees. Put a 6- to 8-quart heavy covered pot (cast iron, enamel, Pyrex or ceramic) in the oven as it heats. When the dough is ready, carefully remove the pot from the oven. Slide your hand under the dough and flip it into the pot (you can also just turn the bowl over and it will likely fall right out); it may look like a mess, but that is okay. Shake pan once or twice if dough is unevenly distributed; it will straighten out as it bakes. Cover with lid and bake for 30 minutes, then remove lid and bake for another 15 to 30 minutes, until loaf is beautifully browned. Cool on a rack. Enjoy!
This recipe is based off: https://cooking.nytimes.com/recipes/11376-no-knead-bread